

How to Configure a Freestanding Room Divider in a NYC Studio Apartment (With Real Layout Examples)

Last reviewed by Amit · May 2026
A NYC studio apartment is an exercise in creative problem-solving. You’re working with anywhere from 300 to 600 square feet, one undivided room, and the constant tension between sleeping, working, and living in the same space.
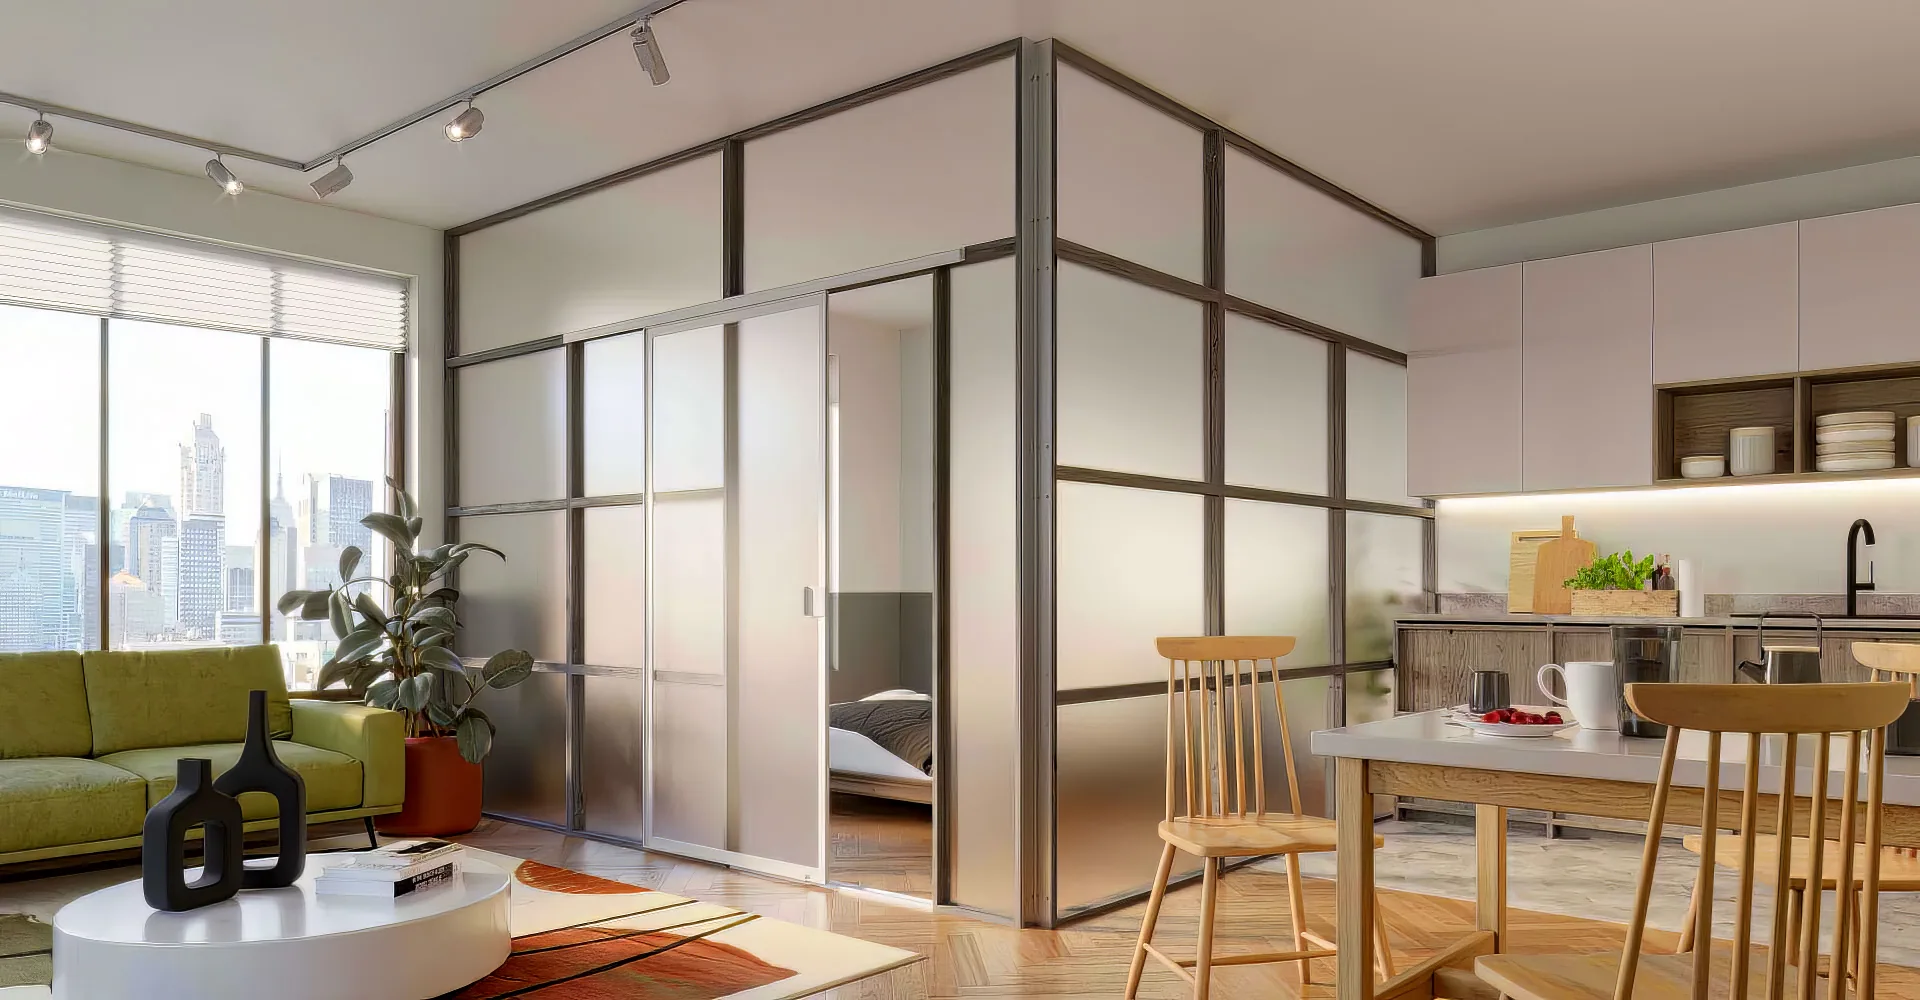
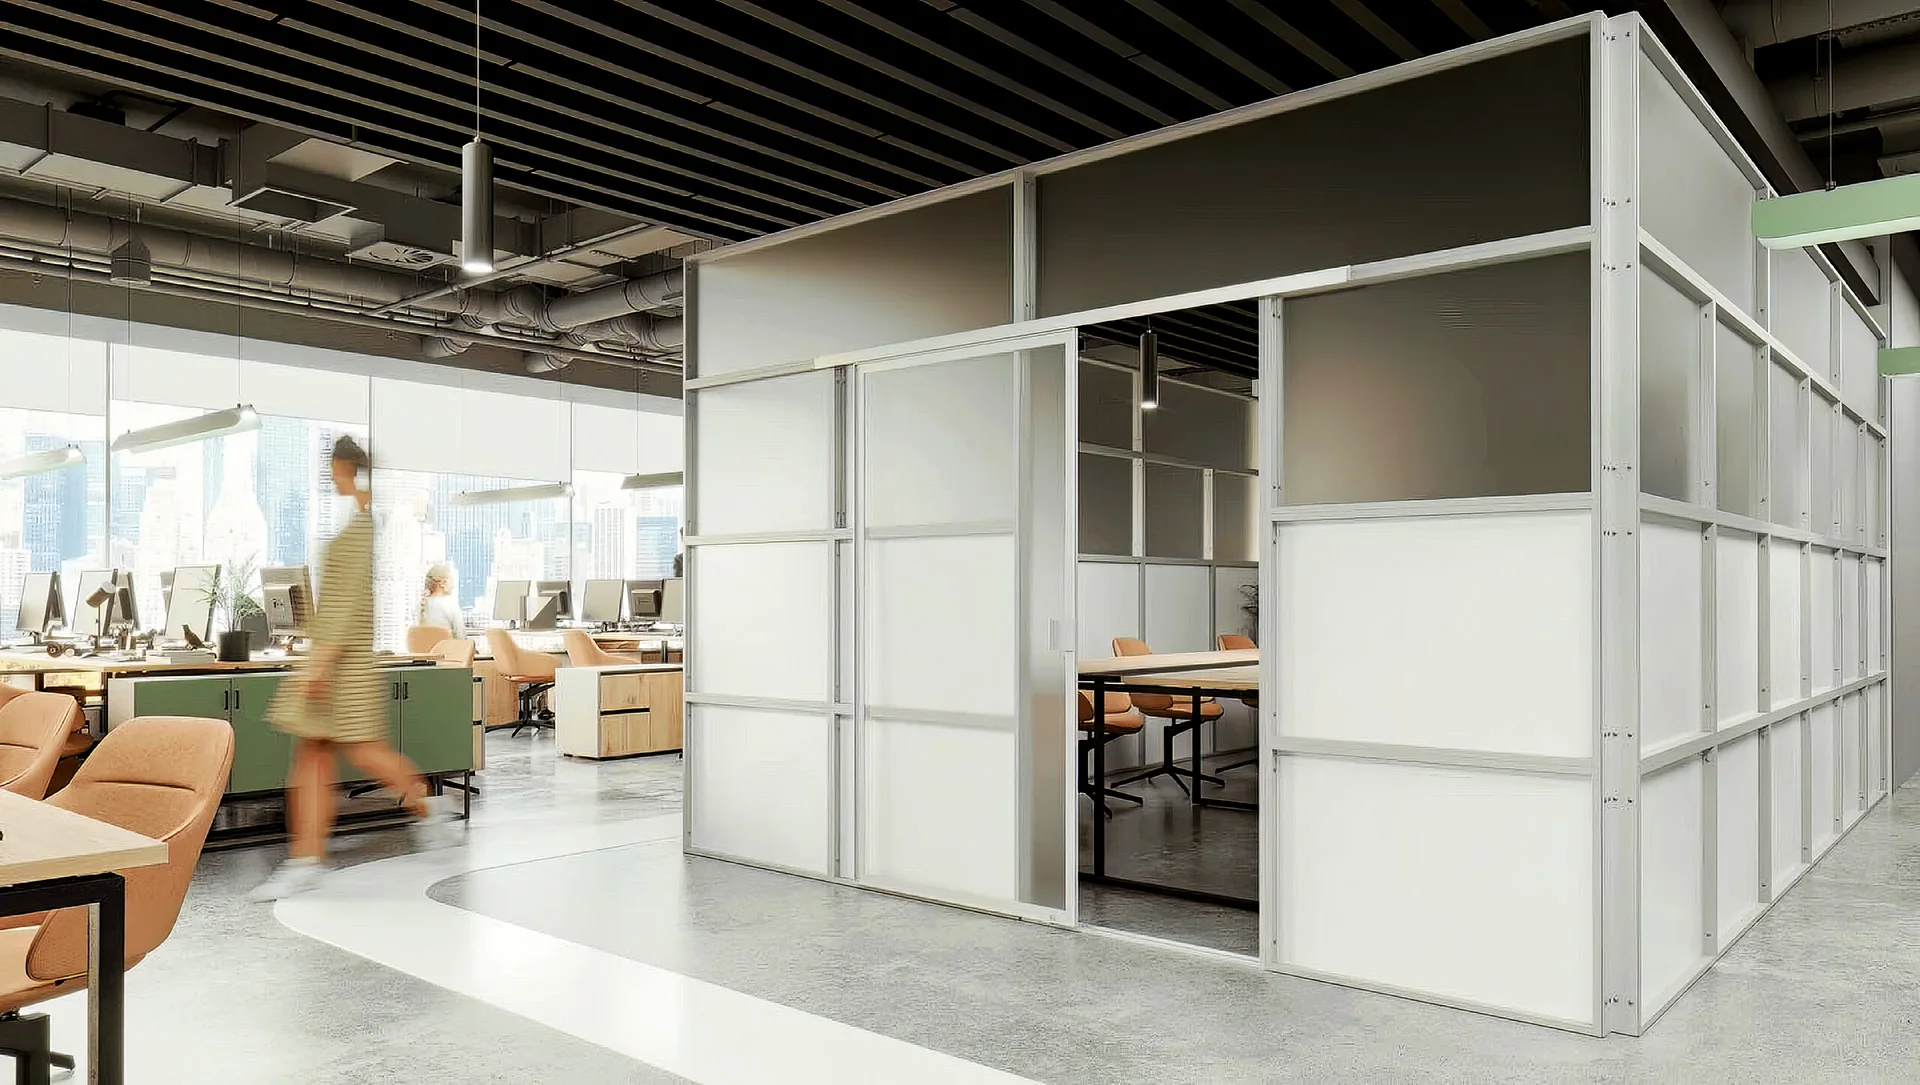
The obvious solution — a pressurized temporary wall — is off the table in most NYC buildings now. Landlords prohibit them. Co-op boards have added explicit house rules. The DOB classifies them as unauthorized construction. But the need to divide a studio hasn’t gone away. This guide covers the real-world configurations that work using a premium freestanding room divider system.
Before You Configure: The Four Variables That Drive Every Layout Decision
- Your square footage and layout type — Rectangular (most common), L-shaped, or alcove studios each call for different approaches.
- Your ceiling height — Pre-war buildings: 9–11 ft. Postwar: 8–9 ft. Modern luxury: 8–10 ft.
- Your primary goal — Sleep/work separation, private bedroom for a roommate, dedicated home office, or dressing zone.
- Natural light and window placement — Never block your only window. Plan light flow first.
Configuration 1: The Bedroom Zone (Most Popular)
Best for: Studios 400 sq ft and up, rectangular layout, sleep/living separation.
Position your freestanding panel system parallel to the shorter wall of the apartment, creating a dedicated sleeping zone at one end. For a typical 14 × 28 ft studio (~390 sq ft), a panel run of 12–14 feet at the 18–20 ft mark creates a bedroom zone of approximately 140–160 sq ft — functional with a queen bed, nightstand, and small dresser.
Leave a 30–36 inch opening on one side. If your only windows are at the far end, use glass or slatted panel inserts in at least 30% of the divider run to keep light flowing into the living zone.
Configuration 2: The Office Nook (Best for Remote Workers)
Best for: Studios 300–450 sq ft, work/living separation.
Create a dedicated L-shaped work zone in one corner. A two-panel run at 90 degrees — one panel along the wall, one extending into the room — creates a workspace of approximately 20–25 sq ft. Tight, but genuinely separate from your sleeping and living zones.
This configuration is additive: start with two panels, add a third for more Zoom call privacy. If you need to reconfigure, the panels relocate in minutes.
Configuration 3: The Alcove Studio Full Conversion (Maximum Privacy)
Best for: Alcove studios — the holy grail of NYC studio layouts.
An alcove studio has a recessed area — typically 8–12 feet deep and 8–10 feet wide — off the main living space. A single panel run across the mouth of the alcove creates what functions as a fully private bedroom. Combined with a sliding or hinged door panel, this is as close as you can get to a genuine second room without any construction.
In pre-war buildings with 9–10 foot ceilings, panels that reach 84–90 inches create a genuinely room-like enclosure. The acoustic performance of this configuration significantly outperforms any other studio layout.
Configuration 4: The Roommate Setup
Best for: Studios 550 sq ft and up, roommate situations, L-shaped layouts.
Divide the apartment into two genuinely distinct zones with a freestanding panel system running down the long axis. Each zone needs at least one window. A door panel at one point in the run gives each occupant genuine entry control. Keep the kitchen and bathroom in “shared territory.”
Configurations That Don’t Work
- Full-width solid panels in a low-light studio — always include glass inserts if light is limited.
- The asymmetric split in a small studio — don’t try to divide 350 sq ft 60/40. Use the bedroom zone or office nook approach instead.
- Blocking the entrance sightline — the first thing you see when entering should be the apartment, not a wall.
Why Freestanding Systems Beat Pressurized Walls in Studio Configurations
Beyond the legal issue, freestanding systems offer a genuine practical advantage in studio configurations: they’re iterative. You can set up a bedroom zone, live with it for two weeks, decide you’d rather have an office nook, and reconfigure in an afternoon — without a contractor, without scheduling, without cost.
No pressurized wall offers that. Once it’s up, it stays up until you pay someone to take it down.
Ready to configure your studio? Get a free layout consultation →
Get the spec PDF + 24h quote
No contractor, no permit, ships nationwide.